Deep-Learning Using Caffe Model
This article was originally posted here: Deep-Learning (CNN) with Scilab – Using Caffe Model by our partner Tan Chin Luh.
You can download the Image Processing & Computer Vision toolbox IPCV here: https://atoms.scilab.org/toolboxes/IPCV
In the previous post on Convolutional Neural Network (CNN), I have been using only Scilab code to build a simple CNN for MNIST data set for handwriting recognition. In this post, I am going to share how to load a Caffe model into Scilab and use it for objects recognition.
This example is going to use the Scilab Python Toolbox together with IPCV module to load the image, pre-process, and feed it into Caffe model to recognition. I will start from the point with the assumption that you already have the Python setup with caffe module working, and Scilab will call the caffe model from its’ environment. On top of that, I will just use the CPU only option for this demo.
Let’s see how it works in video first if you wanted to:
Let’s start to look into the codes.
// Import moduels pyImport numpy pyImport matplotlib pyImport PIL pyImport caffe caffe.set_mode_cpu() |
The codes above will import the python libraries and set the caffe to CPU mode.
// Load model, labels, and the means value for the training set
net = caffe.Net('models/bvlc_reference_caffenet/deploy.prototxt','models/bvlc_reference_caffenet/bvlc_reference_caffenet.caffemodel',caffe.TEST);
labels = mgetl('data\ilsvrc12\synset_words.txt');
rgb = [104.00698793,116.66876762,122.67891434]';
rgb2 = repmat(rgb,1,227,227);
RGB = permute(rgb2,[3 2 1]);
|
This will load the caffe model, the labels, and also the means values for the training dataset which will be subtracted from each layers later on.
// Initialize the data size and data pointer
net.blobs('data').reshape(int32(1),int32(3*227*227));
data_ptr = net.blobs('data').data;
|
Initially the data would be reshape to 3*227*227 for the convenient to assign data from the new image. (This likely is the limitation of Scipython module in copying the data for numpy ndarray, or I’ve find out the proper way yet)
// Load image and prepare the image to feed into caffe's model
im = imread('cat.jpg');
im2 = imresize(im,[227,227]);
im3 = double(im2)-RGB;
im4 = permute(im3,[2 1 3]);
im5 = im4(:,:,$:-1:1);
|
This part is doing the “transformer” job in Python. I personally feel that this part is easier to be understand by using Scilab. First, we read in the image and convert it to 227 by 227 RGB image. This is followed by subtracting means RGB value from the training set from the image RGB value resulting the data from -128 to 127. (A lot of sites mentioned that the range is 0-255, which I disagreed).
This is followed by transposing the image using permute command, and convert from RGB to BGR. (this is how the network sees the image).
// Assign image to network input
net.blobs('data').reshape(int32(1),int32(3*227*227));
numpy.copyto(data_ptr,im5(:)');
net.blobs('data').reshape(int32(1),int32(3),int32(227),int32(227));
|
In this 3 lines, we will reshape the input blob to 1 x 154587, assign input to it, and then reshape it to 1 x 3 x 227 x 227 so that we could run the network.
// Compute the CNN out with the provided image
out = net.forward();
m = net.blobs('prob').data.flatten().argmax();
imshow(im);title(labels(m+1));
|
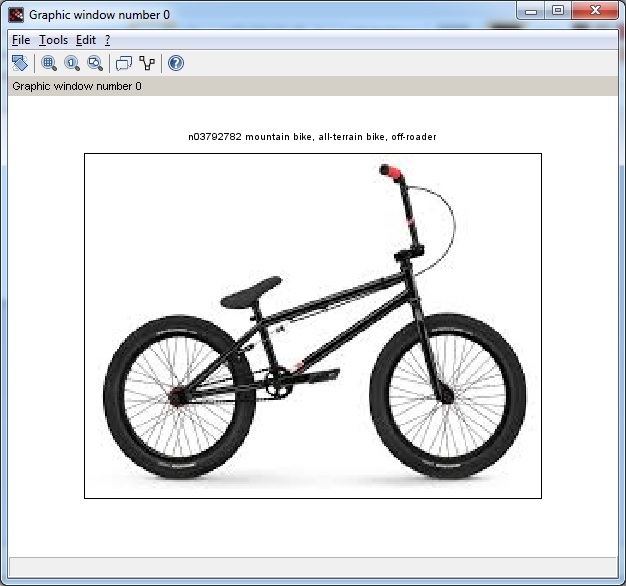
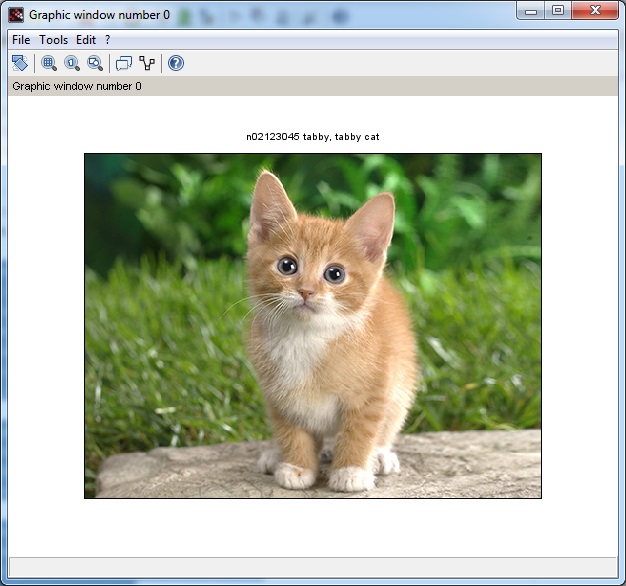
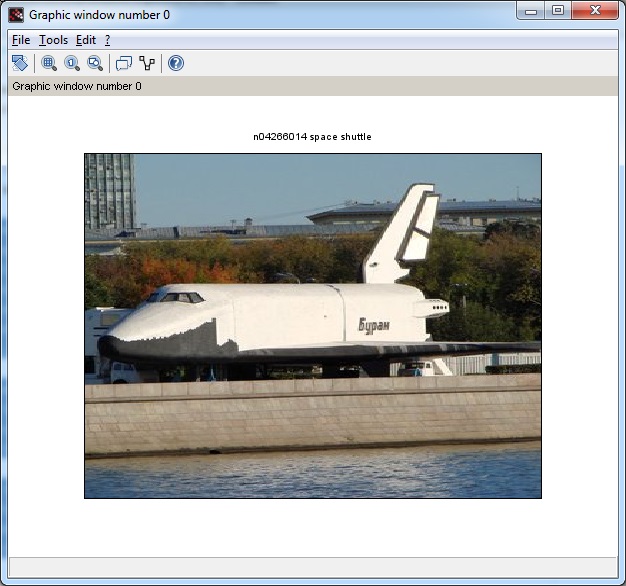
Finally, we compute the forward propagation and get the result and show it on the image with detected answer.
A few results shown as below:


